Interactive Makeup Routine Guide
You’ve bought the eyeshadow palette, the foundation, and that lipstick everyone is raving about. But when you sit down at your vanity, do you apply the blush before or after the bronzer? Does concealer go under or over foundation? If you’re staring at your products in confusion, you aren’t alone. The makeup order is often the missing link between a muddy mess and a flawless look. It’s not just about what you use, but how the layers interact with each other on your skin.
Getting this sequence right saves time, prevents product pilling (that annoying rolling of makeup into little balls), and ensures your look lasts all day. Whether you are rushing out the door or taking your time for a special event, following a logical structure makes the process intuitive. Let’s break down the exact steps you need to follow, from bare face to final spritz.
Why Your Makeup Order Matters
Think of your face like a canvas. You wouldn’t paint the sky after painting the trees, right? Similarly, makeup relies on texture compatibility. Creams generally need to go under powders because powder sits on top of cream, while cream melts through powder if applied over it. If you put liquid foundation over set powder, it will slide off. If you put powder blush over cream highlighter, it might patchy.
The general rule of thumb is simple: thin to thick, and cream to powder. This hierarchy allows each product to adhere properly to the layer beneath it without disturbing it. Understanding this principle helps you troubleshoot issues like creasing concealer or fading blush before they even happen.
Step 1: Prep Your Skin Properly
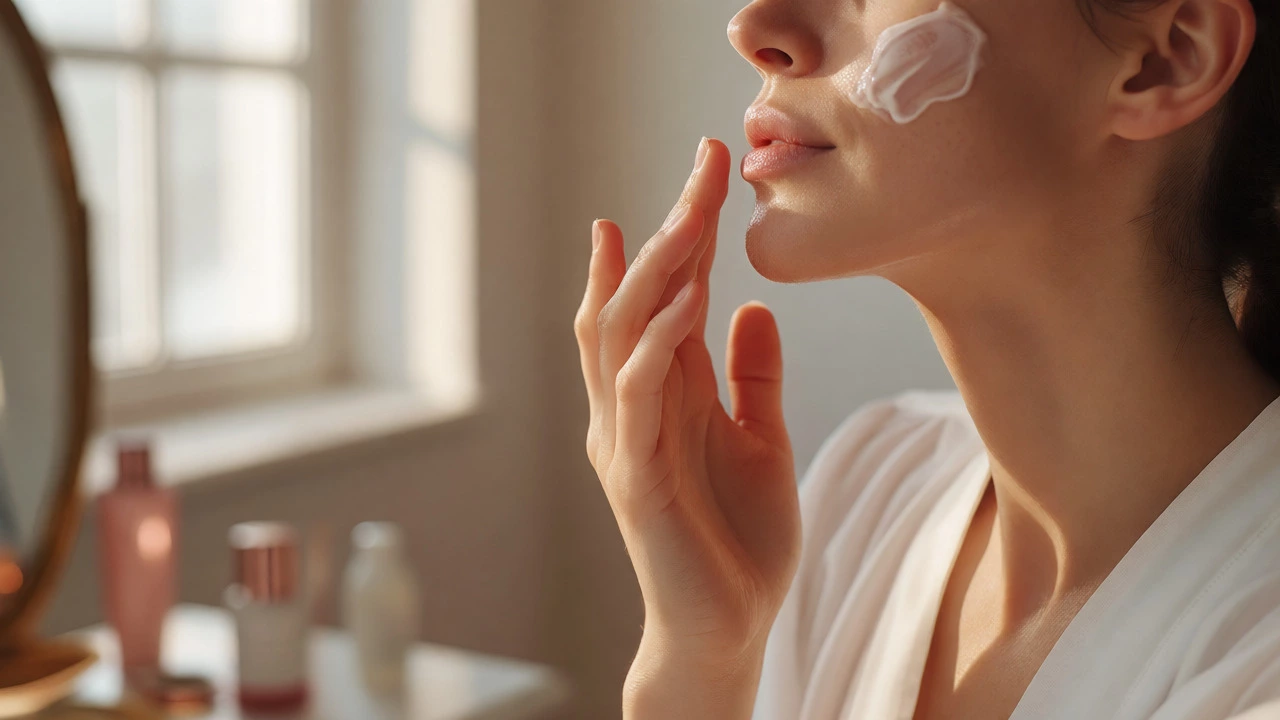
Before you touch a single brush, your skin needs preparation. Skipping this step is the number one reason makeup looks cakey or separates within hours. Start with a clean face. Use a gentle cleanser to remove oils and debris. Next, apply a moisturizer suited to your skin type. Dry skin needs heavier creams; oily skin benefits from lightweight gels.
Wait five minutes. Seriously, wait. Let the moisturizer absorb fully. If you rush this, your foundation will mix with the wet moisturizer and slide around. Once absorbed, apply sunscreen. In Auckland, the UV index can be high even on cloudy days, so daily SPF is non-negotiable. Let the sunscreen settle for another few minutes before moving to makeup.
Step 2: Prime Your Face
A primer acts as a bridge between your skincare and your makeup. It creates a smooth surface for foundation to grip onto. Primers come in different types: hydrating for dry skin, mattifying for oily zones, and color-correcting for redness or dullness.
Apply primer only where you plan to wear makeup. If you are doing a natural look, focus on the T-zone (forehead, nose, chin) where oil tends to break down makeup first. For full glam, apply it all over. Use your fingertips to warm up the product and press it gently into the skin. Avoid rubbing it in vigorously, which can create friction and uneven patches.
Step 3: Foundation and Concealer
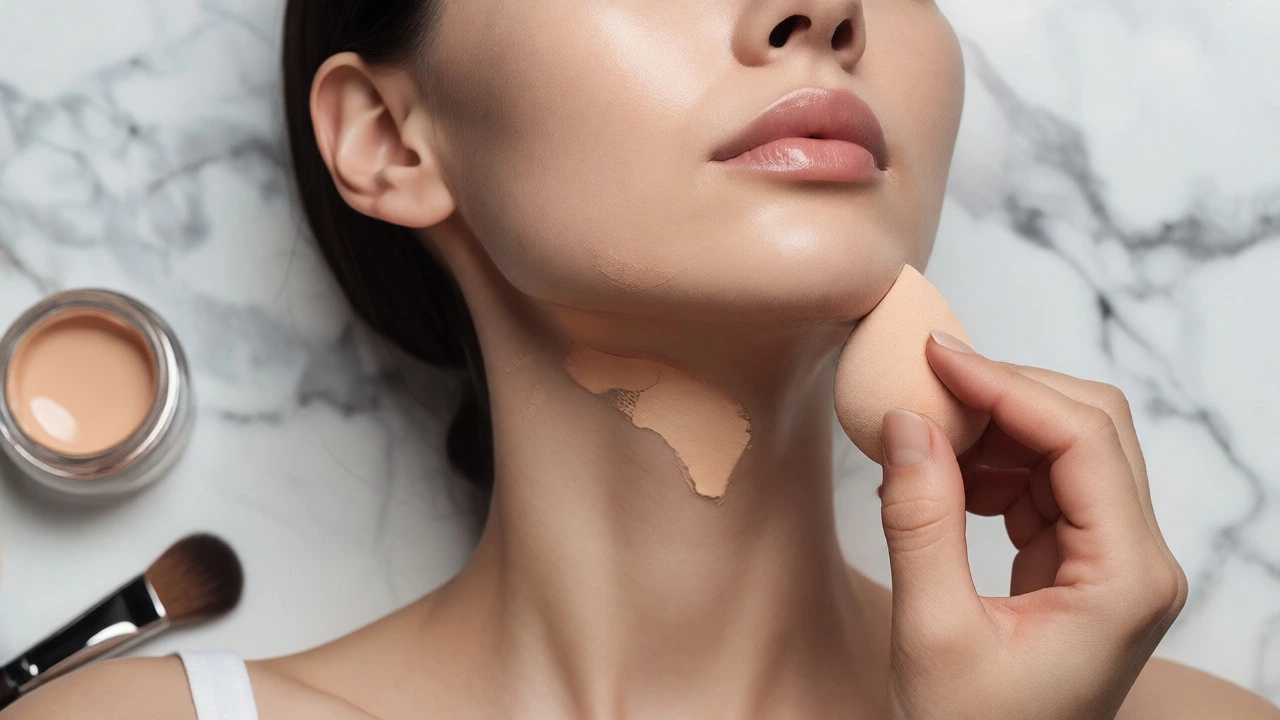
This is where many people get tripped up. Should you do foundation first or concealer first? The answer depends on coverage needs, but the most common professional approach is foundation first. Applying foundation evens out your overall skin tone, reducing the amount of heavy concealer you need later. This keeps the look lighter and more natural.
Apply foundation using a damp sponge, brush, or fingers, blending outward from the center of your face toward the hairline. Check your jawline to ensure there is no harsh line. Once your base is even, assess your face. Do you still have dark circles or blemishes showing through? Now is the time for concealer. Choose a shade slightly lighter than your foundation for under-eyes and an exact match for spot concealing.
Apply concealer sparingly. Dot it directly on imperfections and blend the edges only, leaving the center opaque. Blending the entire dot thins it out too much, requiring more product and leading to creasing.
Step 4: Set with Powder
If you have oily skin or live in a humid climate, setting your base is crucial. Without powder, your foundation and concealer can shift throughout the day. Use a translucent loose powder or a pressed powder that matches your skin tone.
Focus on areas that tend to get shiny: the forehead, nose, and under the eyes. Press the powder into the skin rather than sweeping it across. Sweeping can disturb the concealer underneath, causing it to move or crease. For dry skin, you might skip powder entirely or use it only lightly on the T-zone to maintain a dewy finish.
Step 5: Contour and Bronzer
Now that your base is locked in, it’s time to add dimension. This is where the cream-versus-powder rule becomes critical. If you are using cream contour or cream bronzer, apply them now, before any powder blush or highlight. Blend thoroughly with a dense brush or sponge until there are no harsh lines.
If you prefer powder products, wait until after you have set your face with powder. Apply bronzer where the sun naturally hits your face: the tops of your cheekbones, the bridge of your nose, and the forehead. Keep the application subtle. Too much bronzer can make you look orange or muddy, especially if it doesn’t match your undertone perfectly.
Step 6: Blush and Highlight
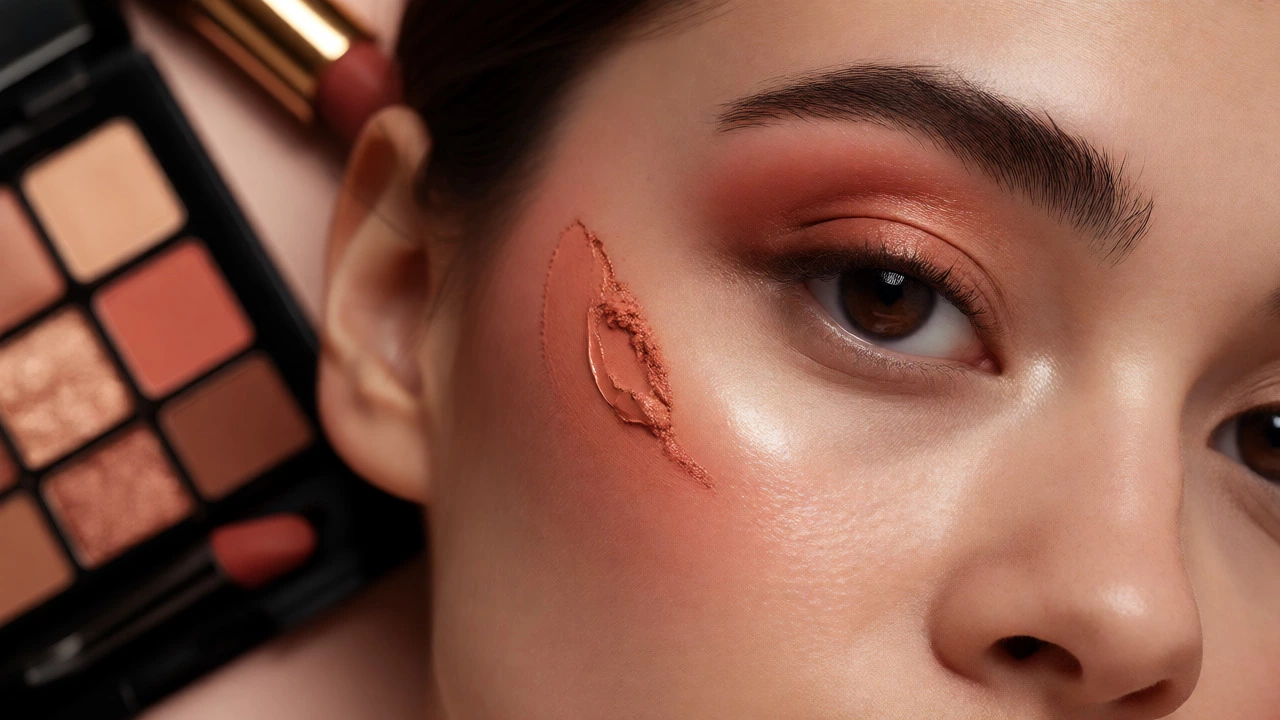
Blush adds life to your complexion. Like contour, choose the formula based on what you used previously. Cream blush goes over cream foundation and before powder setting. Powder blush goes after powder setting. Place blush on the apples of your cheeks and blend upward toward your temples for a lifting effect.
Highlighter catches the light and gives you a glow. Apply it to the high points of your face: the tops of your cheekbones, the tip of your nose, the cupid’s bow, and the inner corners of your eyes. If you want a subtle sheen, mix a drop of liquid highlighter into your foundation. If you want drama, pat powder highlighter on top of your cheekbones.
Step 7: Eyes and Brows
Some artists prefer to do eyes before foundation to catch fallout, but for beginners, doing eyes last is often cleaner. Start with your eyebrows. Fill in sparse areas with a pencil or pomade that matches your hair color. Brush them upward for a fluffy, modern look. Set them with a clear brow gel if needed.
For eyeshadow, start with a neutral transition shade in the crease to add depth. Then, apply your main color on the lid. Add a darker shade to the outer corner for definition. Finish with eyeliner close to the lash line and mascara. Curl your lashes before applying mascara to open up your eyes. If you use false lashes, apply them after mascara has dried completely.
Step 8: Lips Last
Lips are the finishing touch. Exfoliate them gently if they are dry, then apply a lip balm. Let the balm absorb while you finish your eyes. When ready, line your lips with a liner that matches your lipstick or is slightly darker for definition. This prevents feathering.
Apply lipstick from the center outward. For long-lasting color, blot with a tissue and apply a second layer. Gloss can be added to the center of the lips for a plumping effect. Remember, if you change your mind about the color, you can easily wipe it off and reapply without ruining the rest of your face since you did it last.
Troubleshooting Common Mistakes
Even with the right order, things can go wrong. Here are quick fixes:
- Pilling: If your makeup rolls up in little balls, you likely applied layers too quickly. Wait longer between steps or switch to compatible formulas (e.g., silicone-based primer with silicone-based foundation).
- Cakey Texture: You may be using too much product. Less is more. Build coverage gradually instead of applying a thick layer at once.
- Oily T-Zone: Your primer might not be mattifying enough, or you skipped powder. Try blotting papers mid-day to remove excess oil without adding more powder.
- Creasing Concealer: Use less product and set it immediately with powder. Hydrating eye creams can also cause creasing if they haven’t fully absorbed.
| Step | Product Type | Key Action |
|---|---|---|
| 1 | Skincare | Cleanse, Moisturize, SPF |
| 2 | Primer | Create smooth base |
| 3 | Foundation | Even out skin tone |
| 4 | Concealer | Cover specific spots |
| 5 | Powder | Set base (optional) |
| 6 | Contour/Bronzer | Add dimension |
| 7 | Blush/Highlight | Add color and glow |
| 8 | Eyes/Brows | Define features |
| 9 | Lips | Final color statement |
Frequently Asked Questions
Can I skip primer?
Yes, you can skip primer, especially if you have good skin texture and are using long-wearing foundation. However, primer helps makeup last longer and controls oil or hydration levels. If your makeup slides off by lunchtime, try adding a primer to see if it makes a difference.
Should I apply concealer before or after foundation?
Generally, apply foundation first. This evens out your skin tone, meaning you need less concealer for dark circles or blemishes. Applying concealer first can lead to a heavy, mask-like appearance because you end up covering it with foundation anyway.
What if I use both cream and powder products?
Follow the rule: creams go under powders. Apply cream contour, blush, and highlighter before setting your face with powder. If you apply powder first, the cream products will grab onto the powder and become patchy or difficult to blend smoothly.
How do I prevent my makeup from looking cakey?
Cakey makeup usually results from too much product or insufficient skincare prep. Ensure your skin is well-moisturized and let it absorb fully. Use a damp beauty sponge to press foundation into the skin rather than dragging it. Build coverage in thin layers instead of applying one thick coat.
Do I need to set my makeup with spray?
Setting spray is optional but recommended for longevity. It helps melt powder products into the skin for a more natural finish and locks everything in place. If you have dry skin, look for hydrating mists. If you have oily skin, choose matte setting sprays.