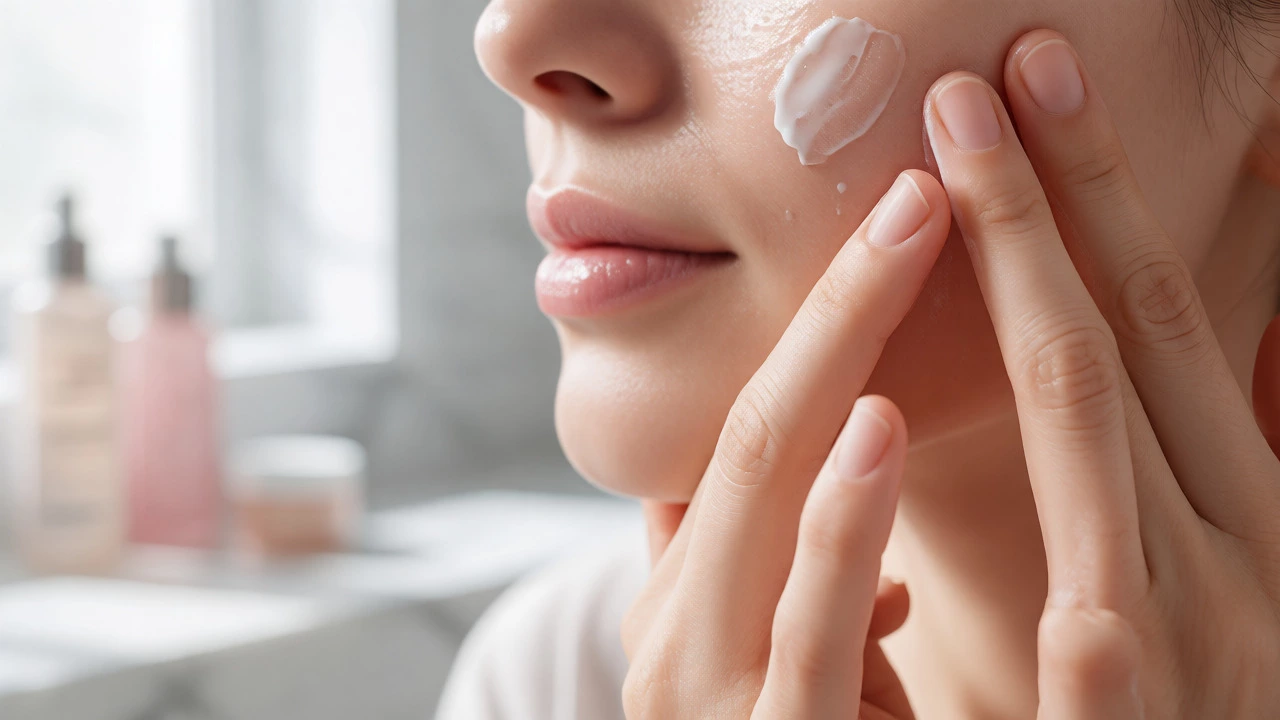
Makeup Application Order Checklist
Follow this guide to prevent pilling and sliding. Click each step as you complete it.
1. Cleanse & Moisturize
Clean skin, then wait 5 minutes for moisturizer to absorb fully.
2. Prime Your Face
Press into T-zone. Match silicone/water bases with foundation.
3. Foundation or Skin Tint
Dot on face, blend outward from center with damp sponge/brush.
4. Conceal Imperfections
Apply after foundation. Pat gently under eyes and on blemishes.
5. Set With Powder
Dust lightly on oily areas (T-zone). Avoid over-application.
6. Add Color (Blush/Bronzer)
Cream products go before powder; powder products go after.
7. Eyes & Brows
Shadow, liner, mascara last to avoid fallout on cheeks/brows.
8. Lips Last
Line and fill. Blot and reapply for longevity.
You’ve probably been there. You spend twenty minutes getting ready, only to look in the mirror an hour later and see your foundation sliding off or your concealer looking cakey. It’s frustrating, right? Most people think it’s about which brand of foundation they bought. But honestly? It’s usually about the order you put things on. If you layer products incorrectly, they fight each other instead of working together. This guide breaks down exactly what goes first, second, and third so your face looks fresh all day.
Why The Order Matters More Than The Products
Think of your face like a canvas. If you paint watercolor over oil paint, it doesn’t stick well. Same with makeup. Some products are water-based, some are silicone-based, and some are powder. When you mix them in the wrong sequence, you get pilling (those little rolls of product) or separation. Getting the sequence right ensures each layer adheres properly to the one below it. This isn’t just about vanity; it’s about chemistry. Water-based primers need skin that’s hydrated but not greasy. Silicone-based foundations need a smooth base. Powders set liquids. Once you understand this hierarchy, you’ll never have to guess again.
Step 1: Cleanse And Moisturize Properly
Before you even touch a makeup brush, your skin needs to be clean. Not squeaky clean, but free of excess oil and dirt. If you skip this, bacteria gets trapped under layers of foundation, leading to breakouts. After cleansing, apply a moisturizer suited to your skin type. Wait at least five minutes. Yes, five minutes. If you apply makeup on damp skin, it slides around. If you apply it on dry, tight skin, it clings to flaky patches. Let the moisturizer absorb fully. This creates a neutral, hydrated base that helps everything else glide on smoothly.
Step 2: Prime Your Face
Primer is the bridge between your skincare and your makeup. It fills in pores, controls shine, or adds glow, depending on what you choose. Apply primer after moisturizer has dried. Focus on areas where makeup tends to fade fastest-usually the T-zone (forehead, nose, chin). Use a pea-sized amount. Rub it between your fingers and press it into the skin rather than rubbing it back and forth. This technique prevents disturbing the moisturizer underneath. If you use a silicone-based primer, avoid water-based foundations over it unless you know they are compatible. Mixing incompatible bases causes separation.
Step 3: Foundation Or Skin Tint
Now we get to the main event. Foundation evens out your skin tone. Start with a small amount-you can always add more, but taking it off is hard. Dot it across your forehead, cheeks, nose, and chin. Blend outward using a damp sponge or a dense brush. Why damp? Because a dry sponge absorbs too much product, wasting money and leaving streaks. For a natural finish, start from the center of your face and blend toward the hairline. Don’t forget your neck. Nothing ruins a look faster than a face that’s lighter than your neck. If you prefer a lighter feel, opt for a skin tint or BB cream, but remember these offer less coverage.
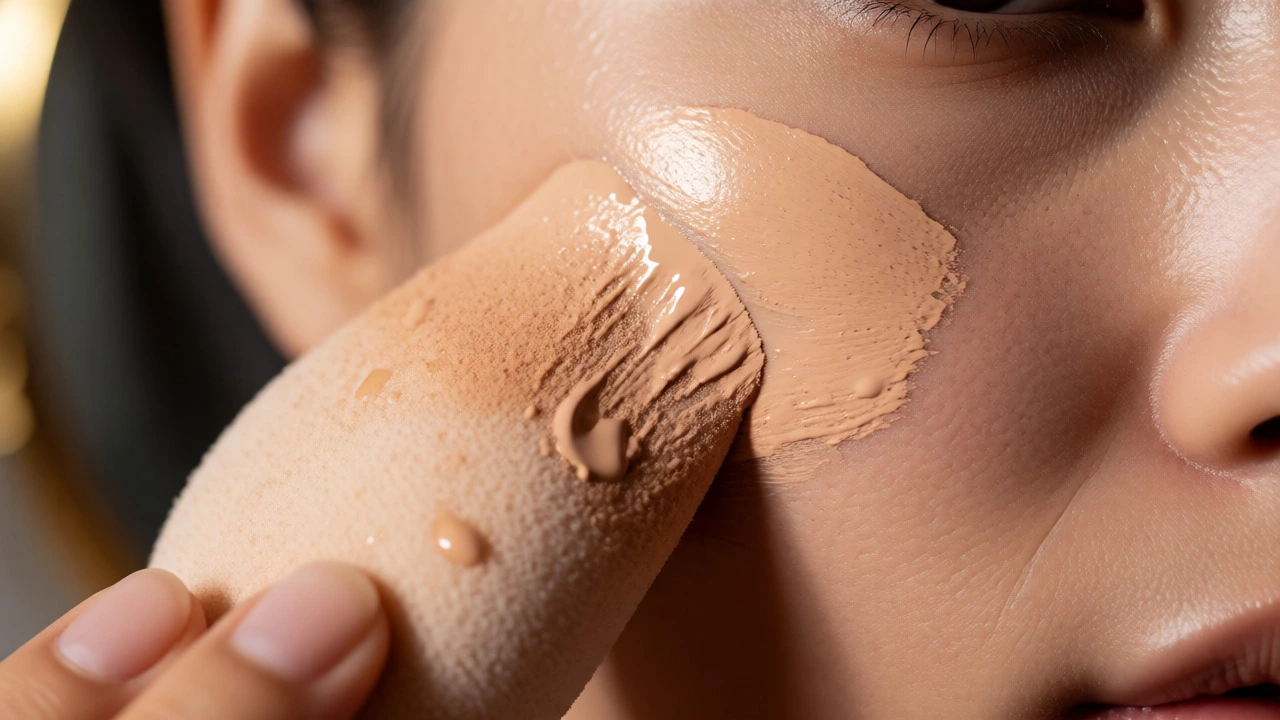
Step 4: Conceal Imperfections
Here is where many people make mistakes. Should you conceal before or after foundation? For most people, after is better. Why? Because foundation covers general redness and unevenness. If you put heavy concealer on first, you might end up using way more product than needed. Apply concealer only where necessary: under eyes, around the nose, or on blemishes. Use a shade slightly lighter than your foundation for under-eye circles to brighten, and match your foundation for blemishes. Pat it in gently with a finger or small brush. Do not rub, as this removes the foundation underneath.
Step 5: Set With Powder
If you have oily skin, this step is non-negotiable. If you have dry skin, you might skip it or use it only on your T-zone. Setting powder locks liquid products in place. Use a translucent powder if you want to maintain your foundation color. Press the powder into the skin with a puff or a fluffy brush. Baking-applying a thick layer of powder and letting it sit-is popular for high-coverage looks, but for daily wear, light dusting is enough. Too much powder makes you look older by settling into fine lines. Less is more here.
Step 6: Add Color: Blush, Bronzer, And Highlighter
Once your base is set, it’s time to bring life back to your face. Blush goes on the apples of your cheeks. Smile to find them. Bronzer mimics where the sun hits you: temples, cheekbones, jawline. Highlighter goes on the high points: tops of cheekbones, brow bone, tip of the nose. If you use cream blush, apply it before powder. If you use powder blush, apply it after powder. This rule prevents muddy colors. Start with a light hand. You can build up intensity, but removing excess blush without ruining your foundation is tricky.
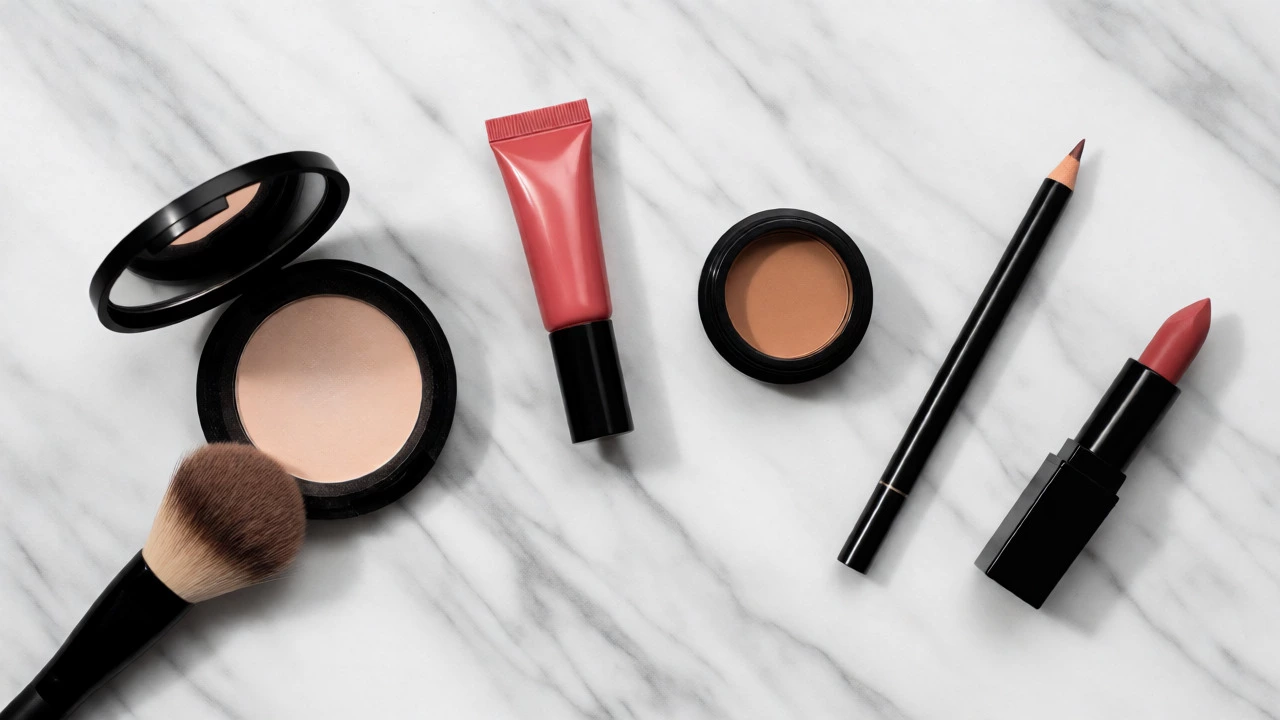
Step 7: Eyes And Brows
Eyes come next because fallout from eyeshadow can mess up your perfect cheek color. Apply eyeshadow, eyeliner, and mascara now. If you do brows first, powder fallout can settle on them, making them look messy. For brows, fill in sparse areas with pencil or pomade. Brush through for a natural look. Mascara should be applied last among eye products to avoid smudging shadow onto wet lashes. Curl your lashes before applying mascara for maximum impact. Waterproof formulas are great for humid days or long events, but they require oil-based removers.
Step 8: Lips Last
Lipstick goes on last. Why? Because if you apply lips early, you risk transferring lipstick onto teeth when you smile or talk during the rest of your routine. Also, lip liner and lipstick can smear if you’re still blending foundation nearby. Line your lips first for definition, then fill in. Blot with a tissue and reapply for longer wear. Matte formulas stay put longer but can be drying. Glossy finishes look juicy but transfer easily. Choose based on the occasion.
Common Mistakes To Avoid
- Applying too much product: Layers of thin coats work better than one thick coat. Thick layers crack and crease.
- Ignoring tools: Dirty brushes harbor bacteria and apply makeup unevenly. Wash them weekly.
- Skipping SPF: Sun damage ages skin faster than anything. Use a moisturizer with SPF or a separate sunscreen before primer.
- Mixing incompatible formulas: Know if your primer is silicone or water-based. Match your foundation accordingly.
| Step | Product Type | Key Action |
|---|---|---|
| 1 | Cleanser & Moisturizer | Wait 5 mins for absorption |
| 2 | Primer | Press into skin, focus on T-zone |
| 3 | Foundation | Blend outward from center |
| 4 | Concealer | Pat gently, spot correct |
| 5 | Setting Powder | Dust lightly, avoid over-application |
| 6 | Cream Blush/Bronzer | Apply before powder if cream-based |
| 7 | Powder Blush/Bronzer | Apply after setting powder |
| 8 | Eyes & Brows | Manage fallout carefully |
| 9 | Lips | Line and fill last |
Frequently Asked Questions
Can I skip primer?
Yes, you can skip primer if your skin is naturally balanced and your foundation lasts long enough without it. However, primer helps control oil and extends makeup wear, especially in hot or humid climates. If you have large pores or very oily skin, skipping it might lead to quicker breakdown of your makeup.
Should I apply concealer before or after foundation?
For most people, applying concealer after foundation is better. Foundation covers overall discoloration, so you only need concealer for stubborn spots or under-eye darkness. Applying it first often results in using too much product, which can look cakey. Exception: If you are color-correcting (e.g., using green for redness), apply that before foundation.
What if my makeup pills?
Pilling happens when products don't bond well, often due to mixing water-based and silicone-based formulas improperly or applying too quickly. Ensure each layer dries before applying the next. Check if your moisturizer and primer are compatible. Using a setting spray can also help bind layers together and reduce friction.
Do I need to set my makeup with powder?
Not necessarily. If you have dry or mature skin, powder can emphasize texture and wrinkles. In this case, rely on a good setting spray instead. Oily skin types benefit significantly from powder to prevent shine. A hybrid approach works for combination skin: powder only on the T-zone.
How do I keep my makeup from sliding off?
Start with clean, well-moisturized skin. Use a gripping primer suitable for your skin type. Apply foundation in thin layers. Set with powder or a long-wear setting spray. Avoid touching your face throughout the day. If you live in a humid area like Auckland in summer, consider waterproof formulas for eyes and lips.